Getting started with Astro.build
/ 41 min read
Learn the basic of Astro - my favorite static site generator
Introduction to Astro
Ever since I embarked on the journey of building my new site, I’ve had my eye out for something extraordinary—something that would make me truly fall in love with static site generators (SSGs). And then came Astro, a static site generator that is not just well-documented and easy to expand, but also a game-changer in the world of SSGs.
But what is Astro, you ask? Astro is an innovative framework that lets you build fast, modern websites and web applications. It only sends the critical HTML to the browser, enabling faster load times and better user experiences. Launched in 2021, Astro has rapidly gained traction due to its focus on performance optimization and user-friendly design.
So Astro is a new(‘er) static site builder that allows you to build fast, modern websites with your favorite frameworks like React, Svelte, Vue, Preact, and Solid. It’s also compatible with popular CSS libraries like Tailwind and styling tools like Sass and Less.
For those unfamiliar, static site generators are frameworks that transform web applications built on UI frameworks into fully static HTML content. Most of them send JavaScript to the client-side for further interaction on a web page, but Astro is different.
Astro renders directly to HTML and CSS by default, shipping as little JavaScript as possible to the client. This strategy can result in faster load times and an overall better user experience. In my endeavor to build a new site, it’s the first time I’ve really fallen in love with a Static Site Generator. Astro is well-built, well-documented, and easy to expand.
How is Astro Different from Other Frameworks?
Astro stands apart from the pack in several crucial ways, mainly its unique approach to partial hydration and its unmatched flexibility with UI libraries. Unlike other frameworks where client-side components become interactive immediately, Astro components remain static until explicitly made interactive through a directive. This gives you a unique level of control over performance, allowing you to fine-tune the client-side behavior of your components.
NextJS (too much JS)
Let’s put this into perspective. In a typical Next.js application, you might end up with a JavaScript bundle size of around 138kb. In Astro, that same application could weigh as little as 7.5kb. This is because Astro only ships JavaScript to the client when explicitly instructed, enabling your website to load faster and consume less data.
Moreover, while Next.js is inherently tied to React for its UI, Astro provides freedom by supporting a myriad of frameworks like Vue, Svelte, Preact, and more. This flexibility makes Astro an enticing option for developers who like to experiment with different libraries and frameworks.
Remix (another popular library)
Remix, like Next.js, is another framework that’s predominantly used with React. The main point of divergence between Remix and Astro is how they handle rendering. Remix is focused on full server-side rendering, particularly useful for sites that require constantly updated, dynamic content. It does not offer static site generation out of the box.
Astro, on the other hand, is geared toward creating highly optimized, static sites that are SEO-friendly and perform exceptionally well even on poor network conditions. While Remix can be powerful for SEO in dynamic, server-rendered contexts, Astro’s static rendering offers a performant solution for most use cases.
For those who are interested in a more in-depth comparison, you can check the official documentation here: Astro Migration Guide.
Building an Application with Astro
Astro offers an incredibly flexible platform for building modern web applications. To showcase its capabilities, we’ll create a simple Astro app that fetches and displays Kanye West quotes at the click of a button. By the end of this tutorial, you’ll have a solid understanding of how to set up an Astro project and integrate a front-end framework.
Project Setup
Kick things off by creating a new directory. For demonstration purposes, we’ll name it astro-kanye-quotes, but feel free to choose a name that speaks to you. Once you’ve created the directory, navigate to it in your terminal.
To scaffold out our Astro project, execute the following command:
pnpm create astro@latest(if you don’t have pnpm installed you can just run npm install astro@latest, read more about pnpm here).
A prompt will appear with a list of templates. Opt for the first one. When prompted about dependencies, hit “y” to go ahead with the installation.
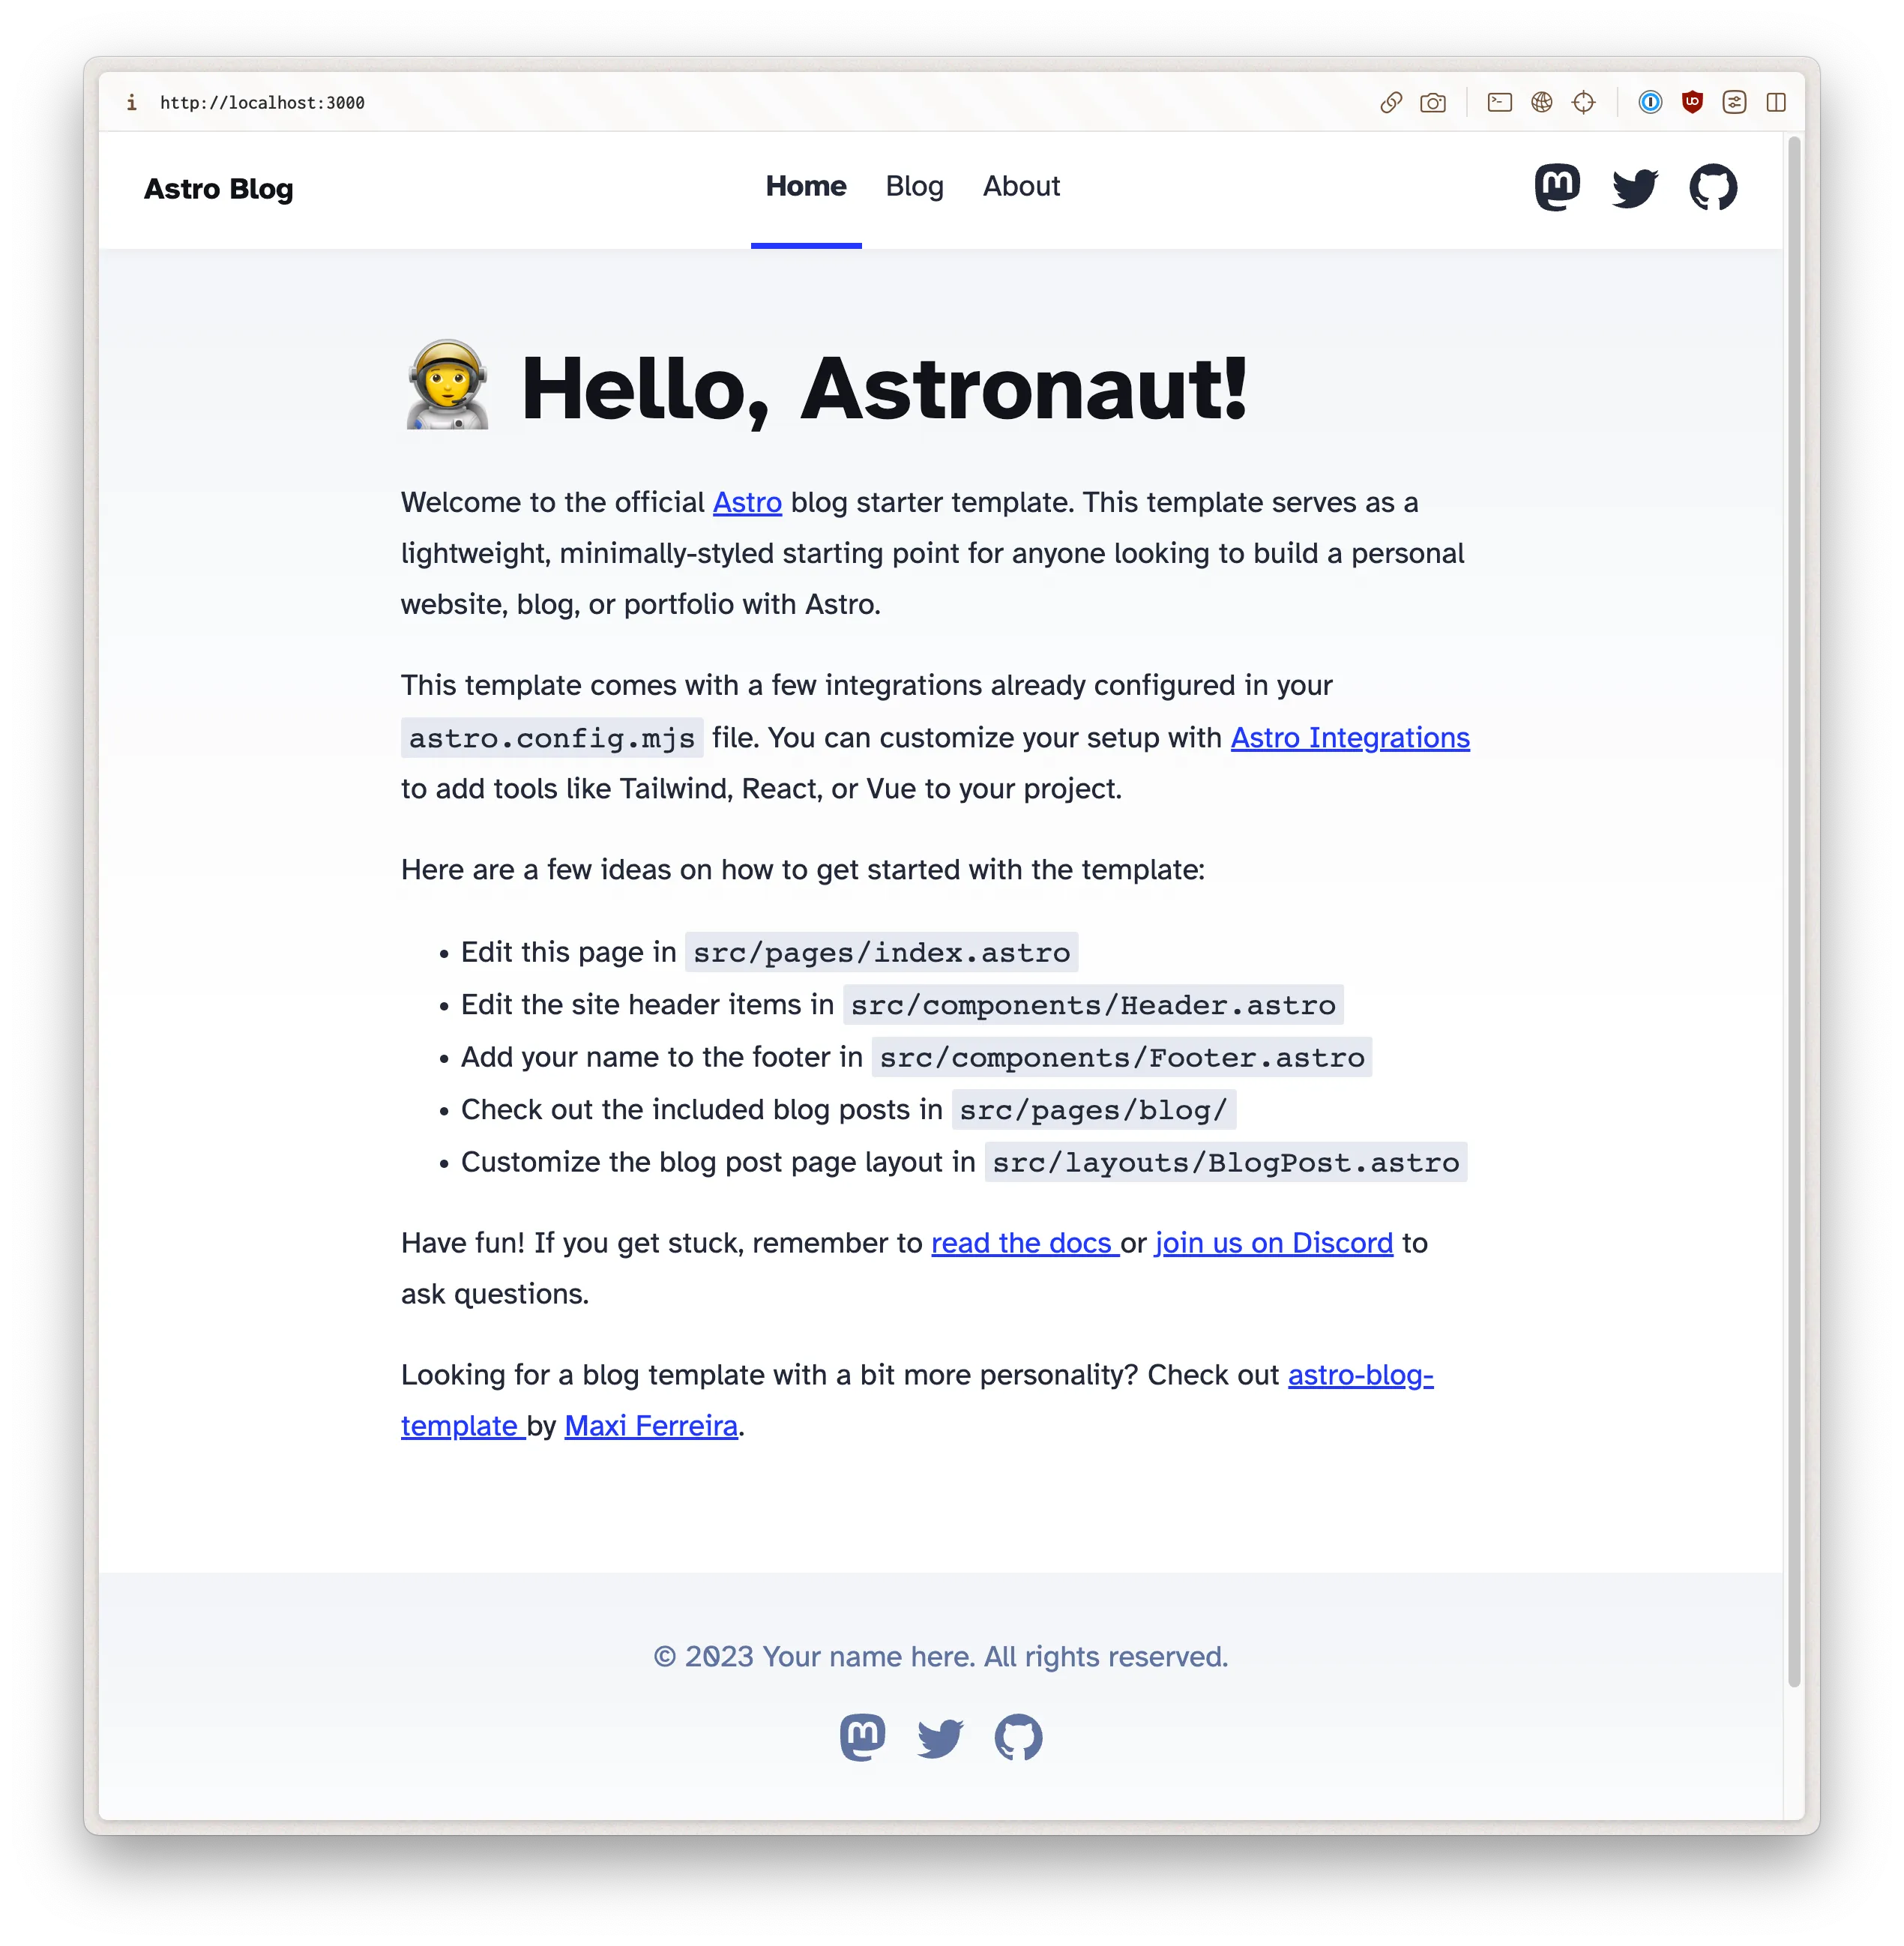
Upon successful installation, your terminal should resemble something akin to a launchpad, poised and ready for you to start building your Astro application.
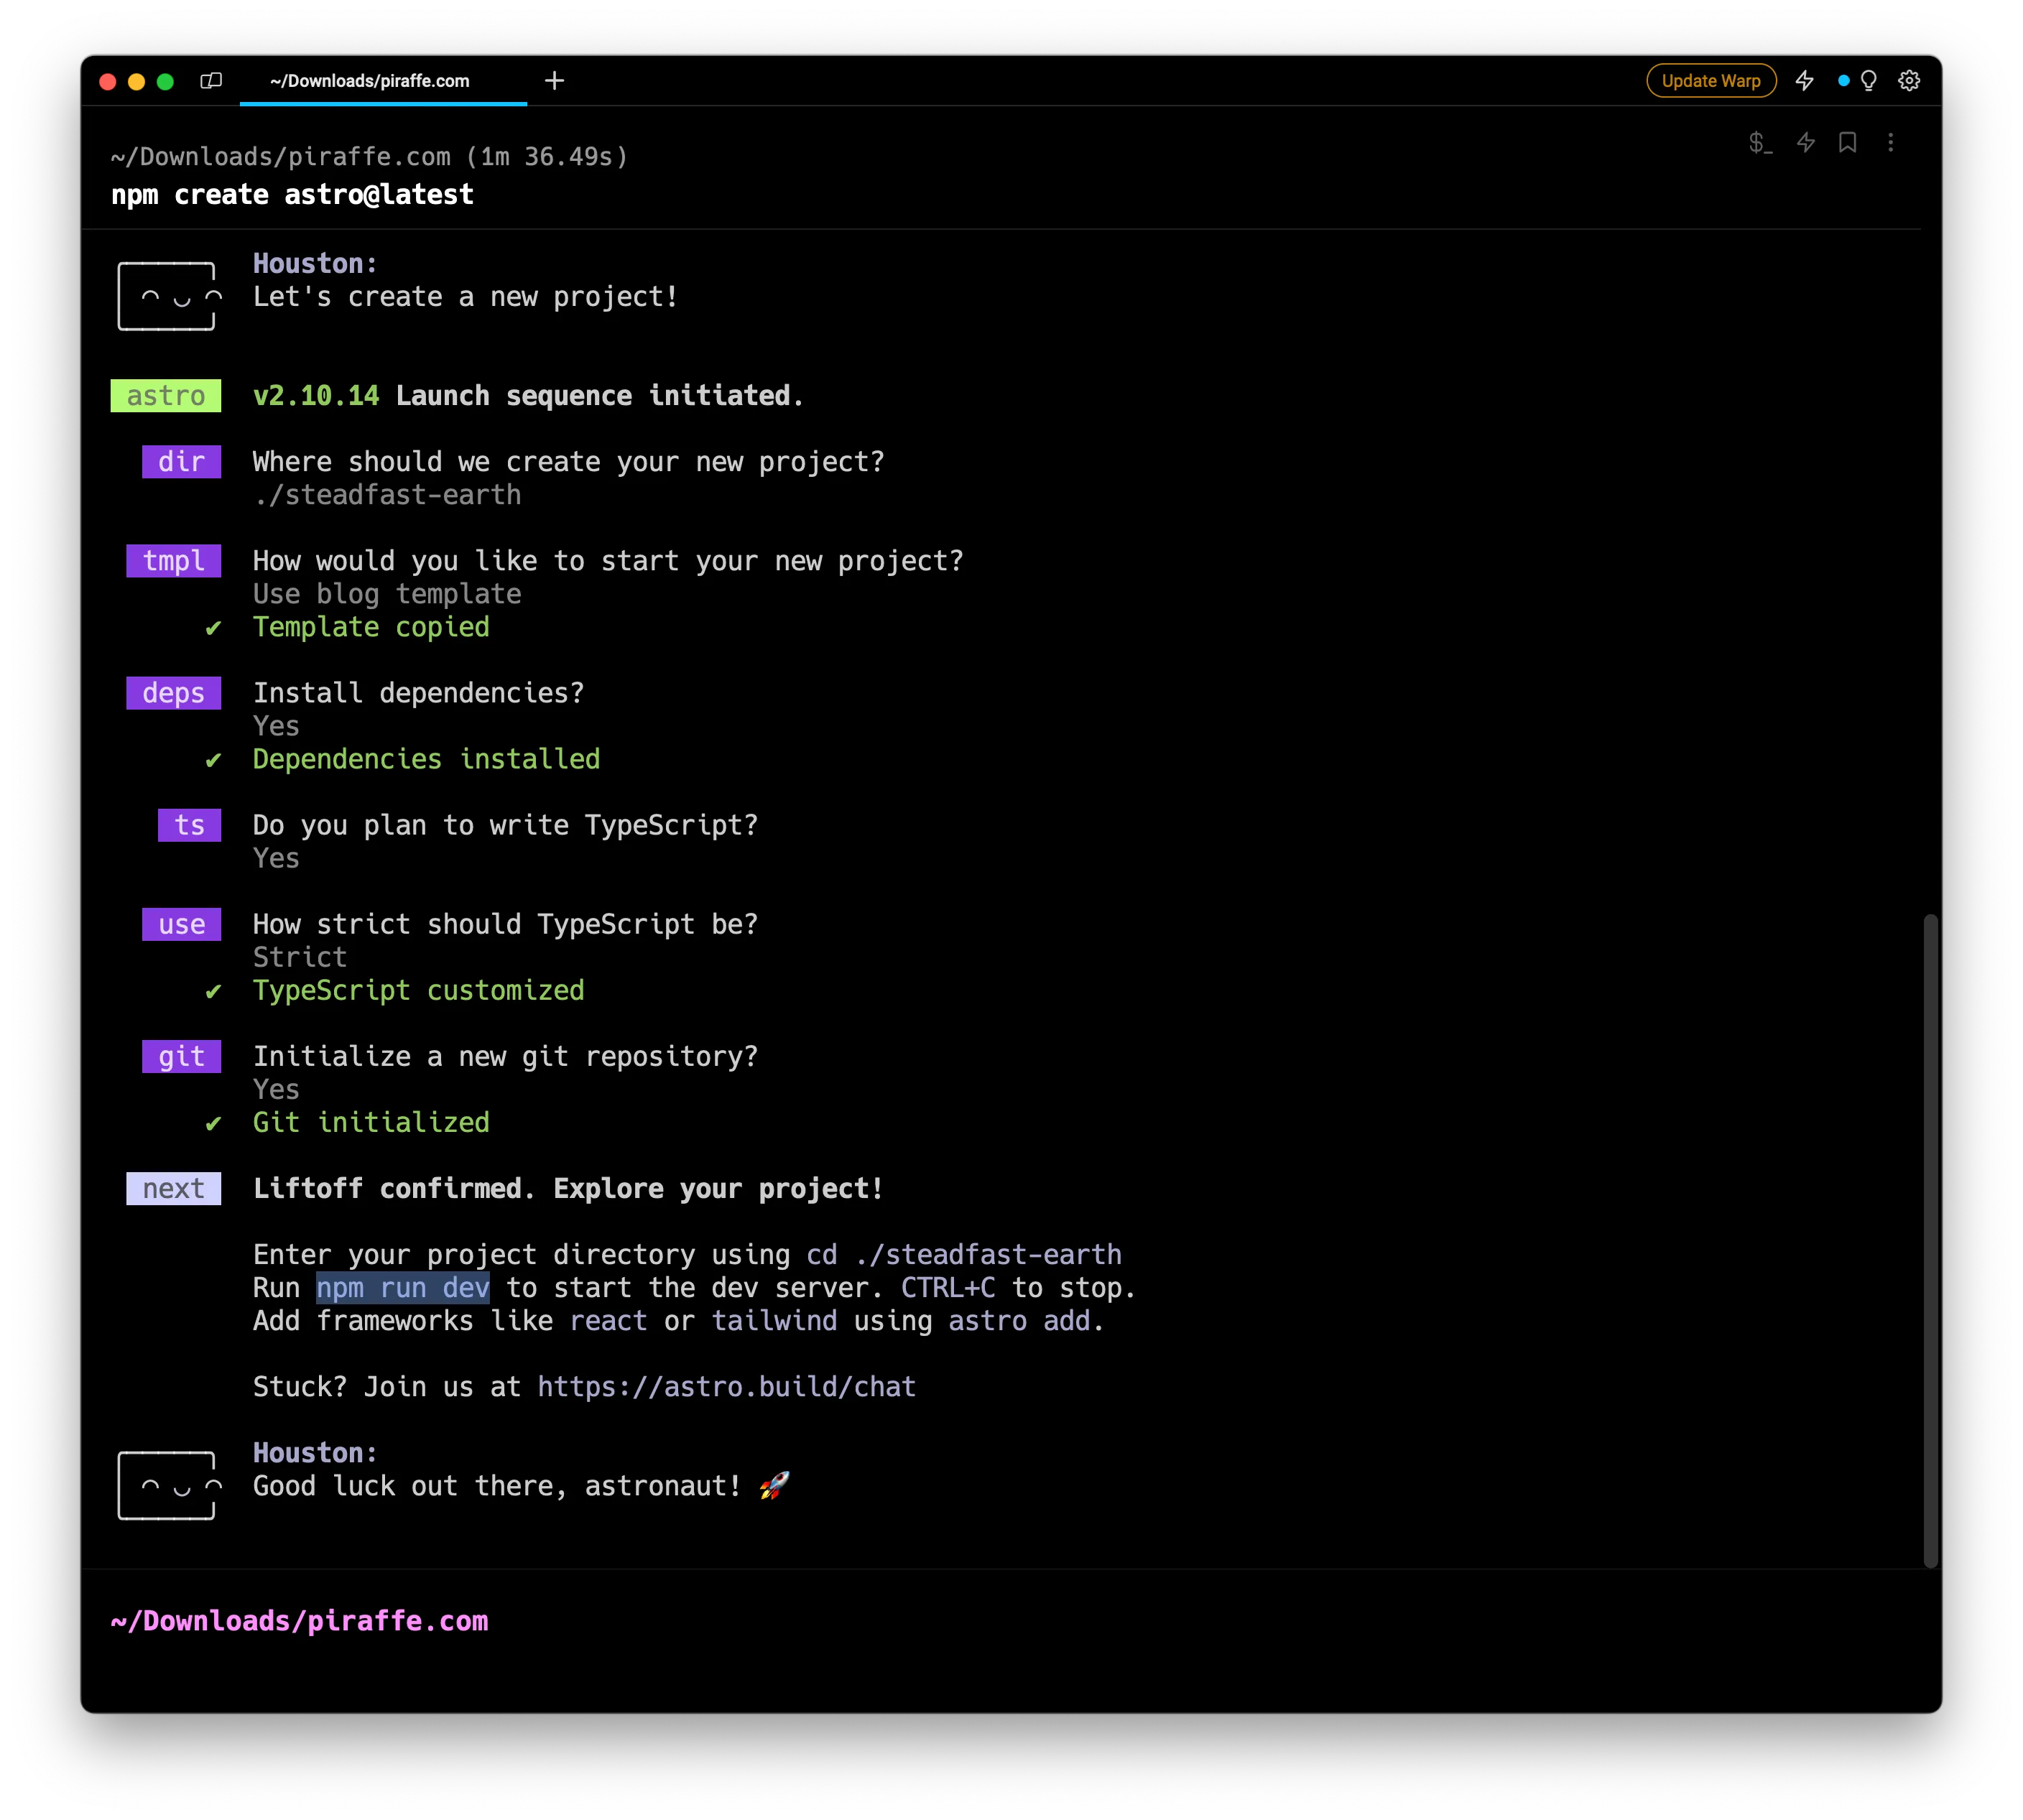
Follow the on-screen prompts and navigate into your project folder, and start the development server with:
npm run dev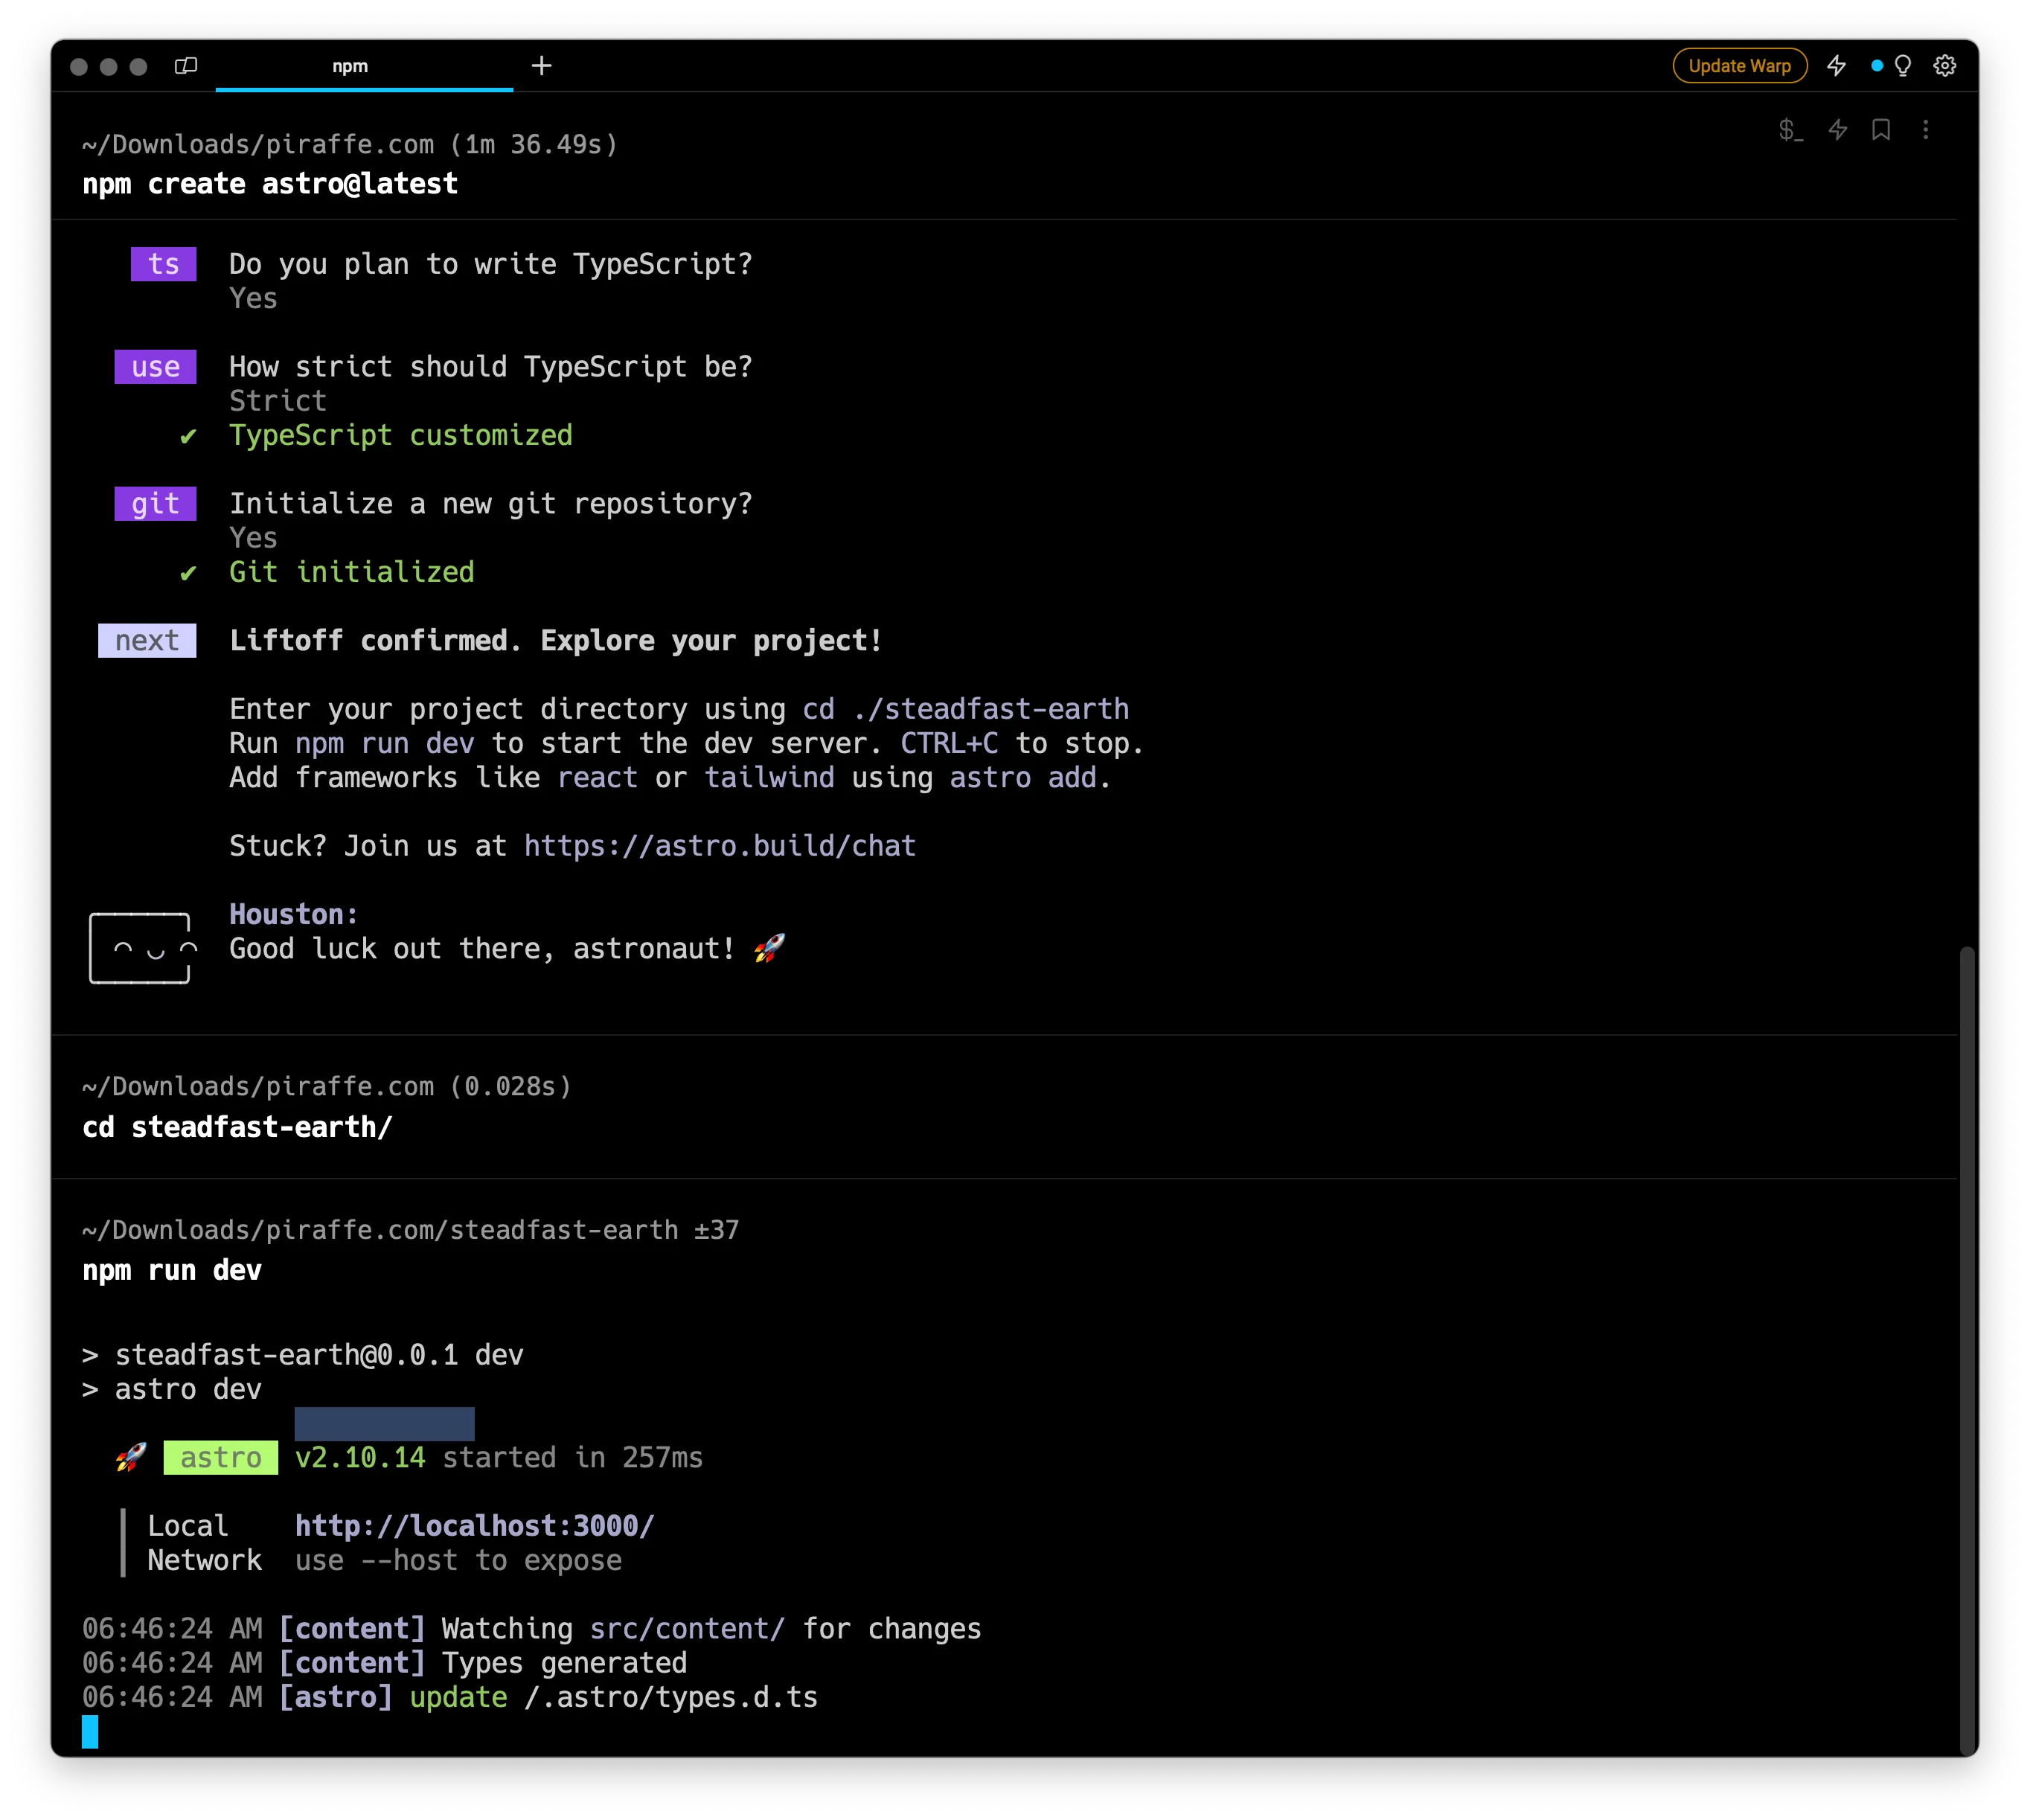
Voila! Your Astro development server is up and running, “Good luck out there, astronaut! 🚀” 🤣
Astro Application Structure
Astro introduces an intuitive and well-organized folder structure to streamline your development process. When you create a new Astro project, the directory will look something like this:
/src
  /pages
  /components
  /layouts
/public
/node_modules
Let’s take a closer look at each of these directories:
/src: This is the heart of your Astro project. All the source code that powers your application resides here, including pages, components, and layouts./src/pages: Think of this as the content layer of your application. Each file in this directory represents a separate page on your website./src/components: This directory houses the building blocks of your application—reusable UI elements like buttons, headers, navigation bars, and cards. These components can be imported and used across multiple pages./src/layouts: Layout components live here. These components wrap around your content and are typically utilized within a page component to maintain a consistent layout across your site.
Understanding Astro’s application structure not only makes your development process more enjoyable but also speeds it up, allowing you to focus on what truly matters: building awesome web experiences.
This hierarchical structure allows for modular code, promotes reusability, and eases the maintenance of your project.
Using Astro to Build a Basic Webpage
Let’s create a webpage that displays a quote from Kanye West using the https://api.kanye.rest/ API.
First, you’ll need to install Axios to fetch data:
pnpm install axios(if you don’t have pnpm installed you can just run npm install axios, read more about pnpm here).
In your Astro component, you can use the following code to fetch data. Add this to your src/pages/index.astro page:
---
// {leave the existing headers from index.astro intact}
// Import your package:
import axios from 'axios';
// Create an function:
const fetchData = async () => {
const response = await axios.get('https://api.kanye.rest/');
return response.data.quote;
}
// Call the function:
const quote = await fetchData();
---
<section>
<h1>🧑🚀 Hello, Astronaut!</h1>
<blockquote>{quote}</blockquote>
</section>
With this snippet, you fetch a Kanye West quote from the API and display it on your page. Isn’t that cool?
Conclusion
My journey into Astro has been nothing short of spectacular. From its optimized delivery system that only sends necessary code, to its simple yet effective directory structure, and even its ease of fetching and displaying dynamic data, Astro has proven itself to be a game-changer in the realm of static site generators.
If you’re looking for a tool to build your next project, I can’t recommend Astro enough. It’s developer-friendly, performance-optimized, and above all, a joy to use. So, why settle for the ordinary when you can shoot for the stars with Astro?